Introduction: why your ultrasonic bond certification matters
Your bearings are only as reliable as the bond that holds the Babbitt lining to the base metal. That makes your ultrasonic bond certification more than a piece of paper. It is proof that your bearings were tested with a recognized method and met clear acceptance criteria for bond integrity. If you work with equipment like pumps, turbines, and electric motors, you know a failed bond can shut down production, damage shafts, and drive up repair costs. In this guide, we decode the certification so you can read it with confidence, spot issues early, and verify quality. We also share how Fusion Babbitting approaches ultrasonic testing inside a robust quality program to help you protect uptime.
What is an ultrasonic bond certification
An ultrasonic bond certification is a formal report issued after a bearing has been tested with ultrasonic methods to assess the quality of the bond between the Babbitt layer and the backing material. The certification documents the procedure used, equipment and settings, test coverage, calibration data, results, acceptance criteria, and final disposition such as pass or fail. It creates traceability for your part and gives you quantifiable evidence that the Babbitt bond will perform under load, speed, and temperature in your application.
In short, the certification is the record that the bearing is more than well machined. It shows the Babbitt is properly bonded, free of unbonded regions and voids within defined limits, and ready for service.
How ultrasonic bond testing works on Babbitt bearings
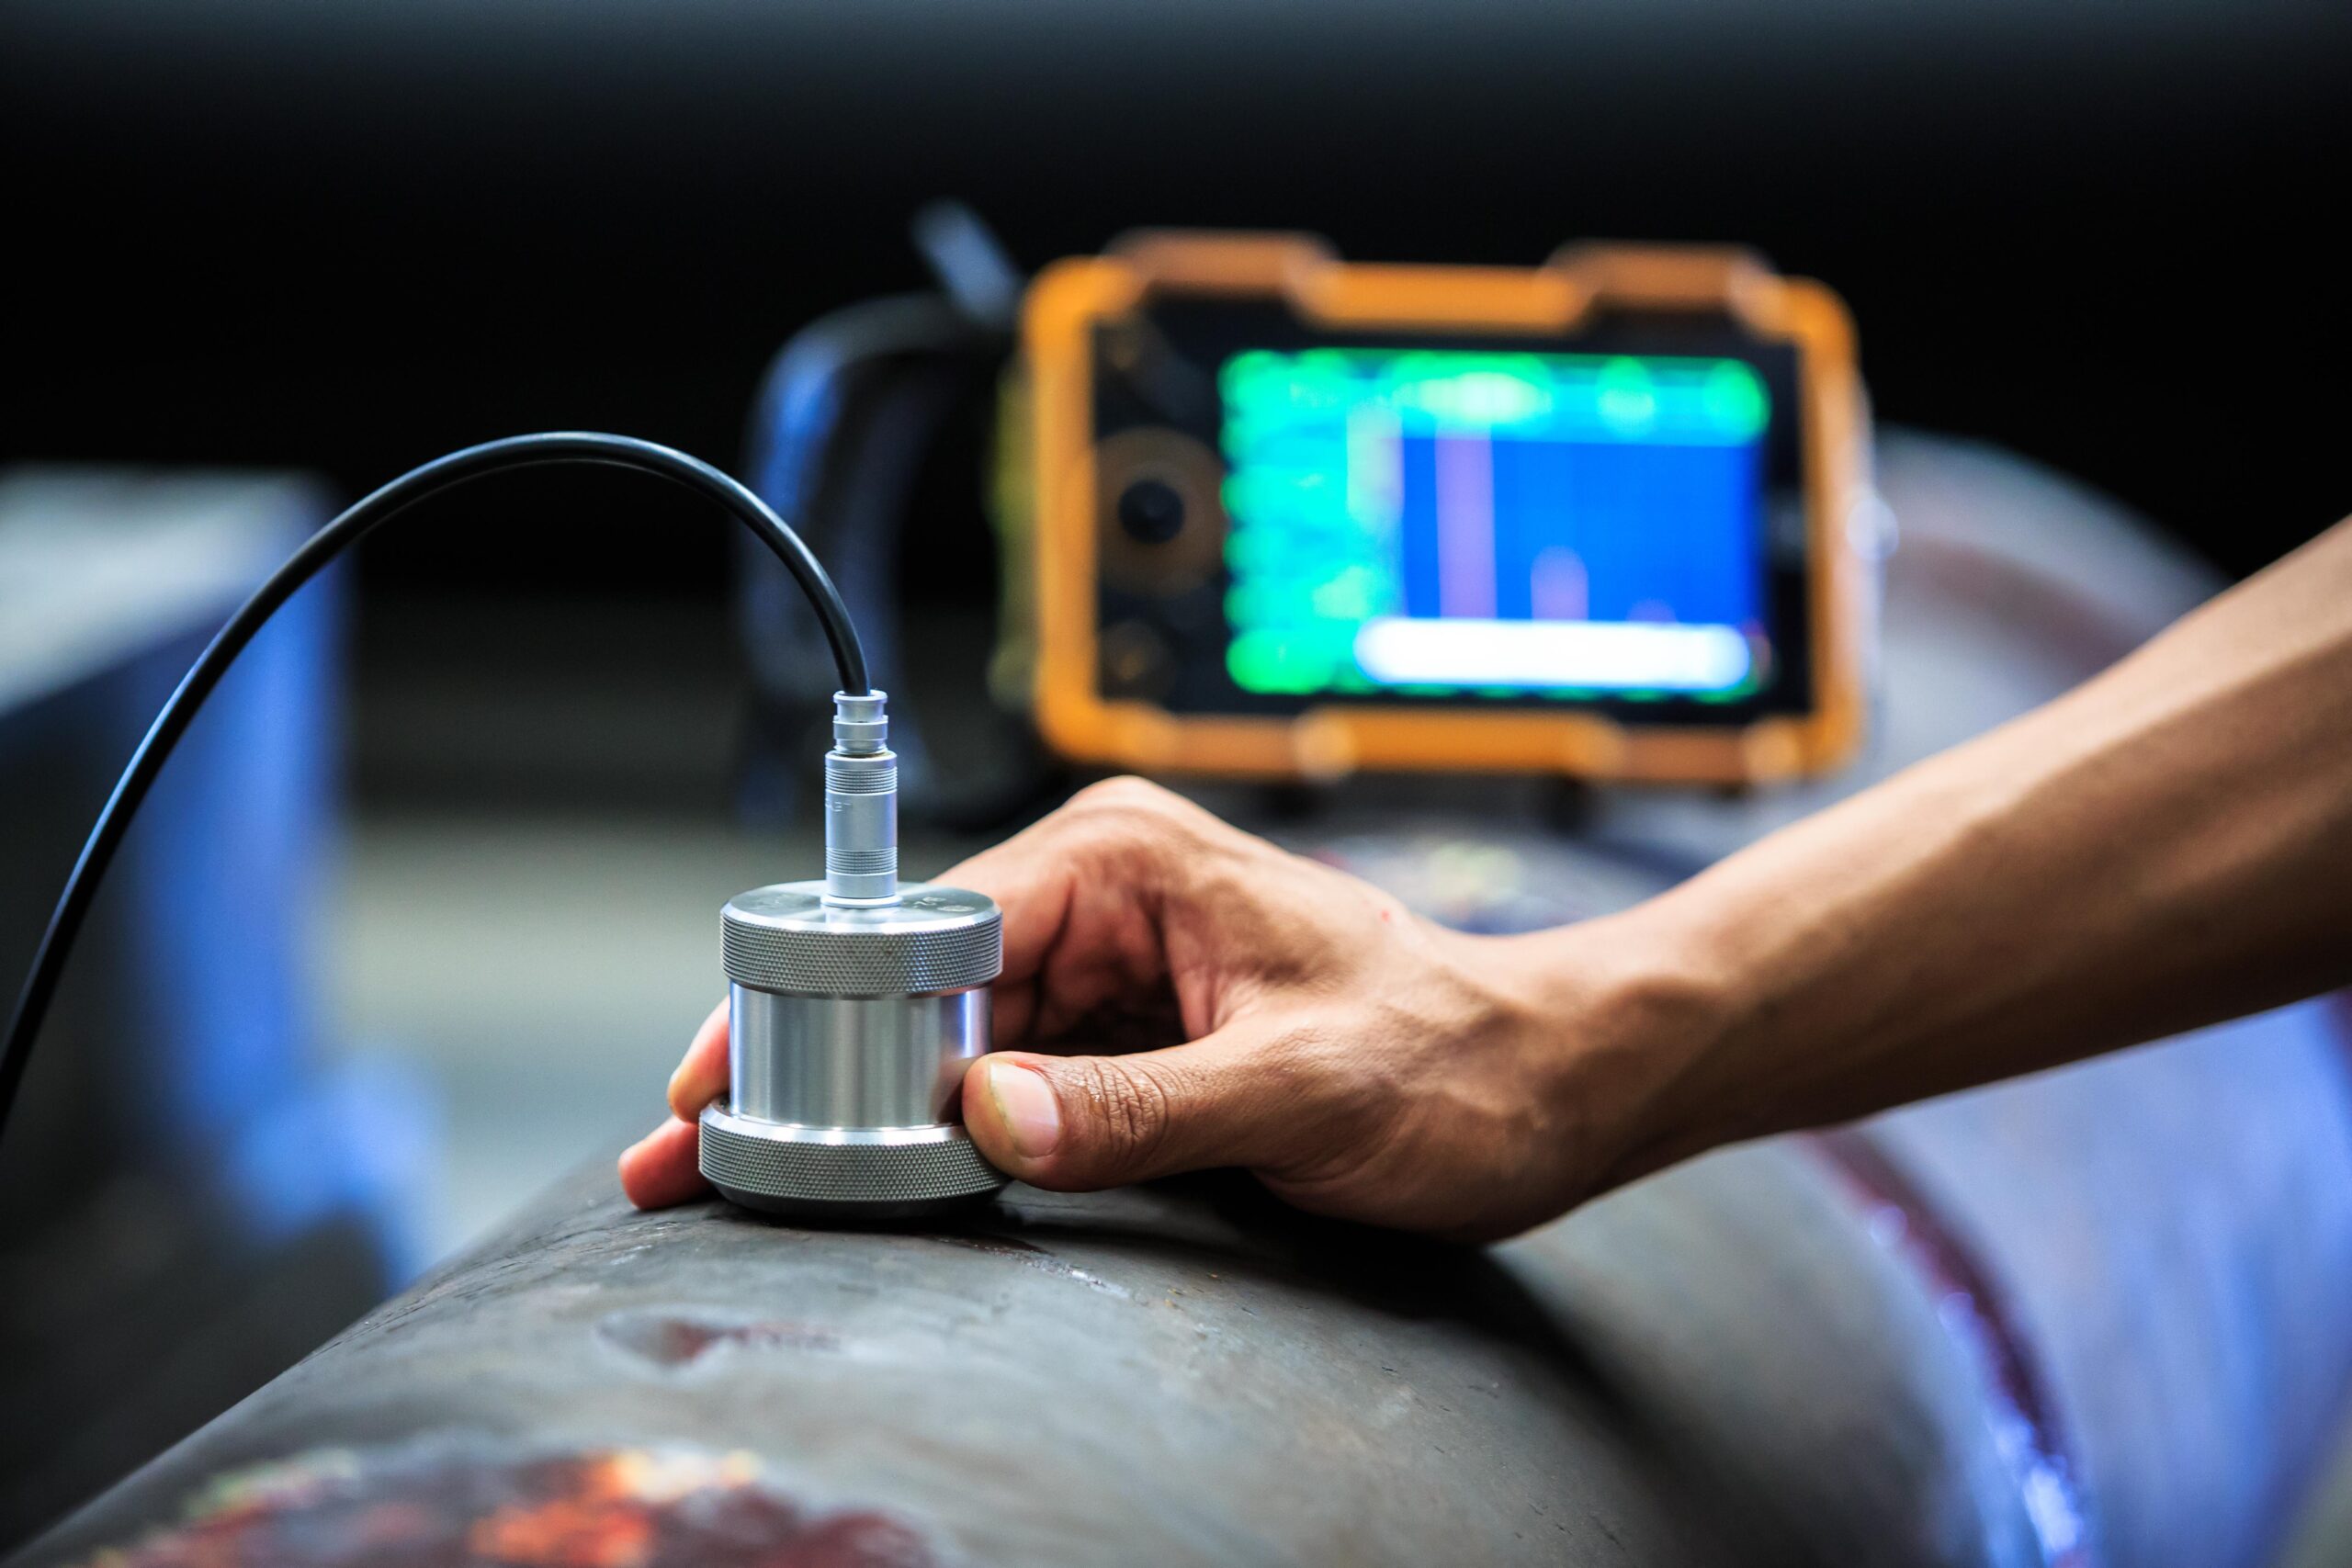
Ultrasonic testing sends high frequency sound into the bearing. The sound wave travels through the Babbitt layer and reflects off interfaces and discontinuities. A well bonded interface returns a clean reflection at the expected depth. Unbonded regions, voids, or inclusions reflect sound differently. By scanning the surface and analyzing echoes, a qualified technician maps the bond condition without cutting or damaging the part.
For Babbitt bearings, ultrasonic testing is preferred because it is non-destructive, sensitive to bond quality, and fast to deploy on a range of diameters and geometries. When paired with proven casting methods like centrifugal casting, ultrasonic testing provides a strong assurance that the bond is continuous and sound.
The anatomy of a bond certification report
Identification details
Every ultrasonic bond certification should include unique identification. Look for customer name, purchase order, part number, bearing size, serial number, material specifications, and a heat or lot number for the Babbitt. This anchors the certification to your actual part.
Equipment and calibration
The report should list the ultrasonic instrument model, probe or transducer frequency, probe size, couplant, and any scanner used. Calibration information should show the reference blocks or known thickness standards used to set sensitivity and validate measurement accuracy. Calibration dates and technician qualifications should also be present.
Procedure and settings
The certification should cite the testing procedure. This includes the technique, such as pulse-echo contact, the frequency range, gain settings, sweep range, scan pattern, grid size, and coverage percentage. If a written procedure references an internal document or a recognized standard, it should be noted by number and revision.
Results summary
A clear summary will state whether the part passed or failed according to the acceptance criteria. It should indicate total area examined, areas flagged, size and location of indications, and any repairs or rework performed before final acceptance.
Data visualization
Most certifications include plots or screen captures. Common outputs are A-scan traces that show echo amplitudes over time, C-scan maps that visualize indications over an area, or simple grid maps that mark suspect cells. These visuals help you confirm that the reported indications match the physical bearing layout.
Acceptance criteria
The acceptance criteria define what is acceptable. This usually includes maximum indication size, percent unbonded area allowed within a zone, distance from critical features such as oil grooves, and any isolation rules for multiple small indications. Good reports state criteria clearly and cite the source document.
Reviewer approvals
Look for signatures or electronic approvals from the NDT technician, the reviewer, and in many cases a quality manager. Dates, certifications such as ASNT Level II or Level III, and revision tracking complete the chain of custody.
Step-by-step guide to reading your ultrasonic bond certification
- Verify identification. Confirm the serial number, dimensions, and material match your packing slip and purchase order.
- Check the testing scope. Make sure 100 percent of the bond surface was examined, or note any justified exceptions such as inaccessible areas.
- Confirm calibration. Look for documented calibration against appropriate blocks, the date, and the technician’s qualifications.
- Review the procedure. Ensure the method and frequency are suitable for Babbitt thickness and geometry. For thick sections, a lower frequency may be needed for penetration. For thin layers, higher frequency improves resolution.
- Examine acceptance criteria. Check that criteria are stated and reasonable for your application and industry. If you have a critical service bearing, tighter criteria may be specified.
- Scan the results summary. Look for pass or fail, the number of indications, their sizes, and locations. Note any repairs or re-tests.
- Study the data visuals. Compare grid maps or C-scans to the bearing drawing. Confirm that flagged indications are not at oil ports, edges prone to signal noise, or chamfers where echoes can be misleading.
- Assess coverage and resolution. If the grid size is coarse, small defects could be missed. For high-speed or high-load bearings, finer grid spacing is preferred.
- Confirm traceability. Look for Babbitt alloy certification, lot numbers, and casting records that tie the bearing to qualified materials and processes.
- Request clarification if needed. Ask for raw data files or additional scans on suspect zones. A reputable shop like Fusion Babbitting will provide prompt support.
Key metrics and terms you will see
- Frequency: Measured in MHz. Common ranges are 2 to 10 MHz. Higher values improve sensitivity to small flaws in thin Babbitt.
- Gain: Amplification applied to signals. Gain settings should be consistent with procedure and noted in the report.
- A-scan: A time-based trace of echoes. Used to measure thickness and identify interfaces and indications.
- C-scan: A plan view map of indications over an area. Helpful for visualizing bond coverage.
- DAC or TCG: Curves that compensate for distance and angle, ensuring consistent sensitivity across depths.
- Indication size: Often reported as equivalent area or diameter. Acceptance limits control how large an unbonded area can be.
- Percent unbonded: The ratio of unbonded area to total scanned area within a zone or overall.
- Couplant: Gel or oil that improves sound transmission between probe and part. Proper couplant is essential for repeatable results.
- Coverage: The percentage of the bond surface examined. Critical bearings should be 100 percent covered.
- Calibration block: A known standard used to set and verify instrument performance.
Common defects and how they show up in data
- Lack of bond: Strong early reflection at the interface with minimal backwall echo. On a C-scan this appears as a high-contrast region.
- Voids or porosity: Multiple small echoes or scattered indications, often clustered. Severity depends on size and density.
- Oxide or contamination layer: A consistent but thin reflective layer at the interface suggesting a weak bond. May require rework.
- Lift-off or scanning artifact: Weak coupling produces erratic signals. Retesting with proper couplant and pressure removes the indication.
- Geometry-based echoes: Oil grooves, edges, and steps create predictable reflections. Good reports mark these features to avoid confusion.
Pass or fail: how to verify compliance
A pass means the bearing meets the stated acceptance criteria. Do not stop at the stamp. Confirm that the criteria fit your needs. For example, a high-speed turbine bearing may require stricter limits than a slow-speed pump bearing. Verify that indications, if present, are small, isolated, and away from critical load zones and oil film regions. If the bearing failed and was repaired, require a follow-up ultrasonic bond certification that documents the re-test and final pass.
How Fusion Babbitting ensures reliable bond certifications
Fusion Babbitting Co., Inc., established in 1988 in Milwaukee, WI, builds bond integrity into the process, then validates it with ultrasonic testing. Our team specializes in Babbitt bearing repair, rebabbitting, rebuilding, reverse engineering, and custom manufacturing. We rely on centrifugal casting with certified Babbitt alloys to produce a strong, uniform bond. Our arc flame spray options restore worn components which are then machined back to precise tolerances.
Our ultrasonic testing is performed by qualified technicians following controlled procedures and documented calibration. We map coverage to the entire bond surface on critical parts and record scan settings and results. When required, we provide C-scan visuals and grid maps for clarity. We tie each ultrasonic bond certification to material certifications, casting records, and machining inspection reports for complete traceability.
Fusion Babbitting serves aluminum mills, cement and chemical plants, fossil and nuclear plants, hydro and pump storage, mines and steel mills, paper mills, shipyards, crushed stone producers, marine repair, and motor repair shops. We support equipment such as electric motors, hydro power systems, pumps, and turbines. With general fabrication and machining capacity up to 120 inches in diameter and length, we handle large and small bearings with the same attention to detail. Our 24-hour emergency service helps you get back online fast, with no compromise on quality or documentation.
Standards and best practices behind the certification
Quality ultrasonic testing follows recognized practices from organizations such as ASTM, ISO, and ASNT. While procedures vary by part geometry and thickness, best practices include calibrated instruments, qualified technicians, documented sensitivity checks, clear acceptance criteria, and full coverage of critical areas. Fusion Babbitting aligns procedures with relevant ultrasonic testing standards and maintains technician certifications so you can trust the results.
Troubleshooting: what to do if your certification raises concerns
If something in your ultrasonic bond certification does not look right, act before installation. Start by discussing the flagged areas with the testing provider. Ask for raw data, higher resolution scans, or a secondary method if needed. Confirm that geometry did not create false indications. If results remain inconclusive, request a witness re-test. For bearings that fail, discuss repair options such as localized re-bonding or rebabbitting. Fusion Babbitting offers expert evaluation, repair, and re-certification so you can make a timely decision with full information.
Frequently asked questions about ultrasonic bond certification
How often should bearings be tested
New or rebuilt bearings should be tested before shipment. In service, ultrasonic testing is typically performed when bearings are refurbished or when performance concerns arise. Many clients follow a preventative maintenance schedule based on operating hours and load.
Is ultrasonic testing safe for thin Babbitt layers
Yes. With the right frequency and technique, ultrasonic testing is non-destructive and safe for thin linings. The procedure will specify the optimal probe and settings for your thickness.
Can ultrasonic testing see every defect
No method sees everything. Ultrasonic testing is highly effective for detecting unbonded areas and voids, but very small or shallow features may require high-resolution settings or complementary inspection methods. Your provider should select the right mix of methods.
What if my report does not include visuals
Request them. A-scan or C-scan images help validate interpretations. Fusion Babbitting can supply visuals and explain the findings.
Do I need a third-party witness
Critical applications often require third-party witnessing or audits. Fusion Babbitting works with customer representatives and third-party inspectors to provide transparent, witnessed testing when specified.
Industries and applications that benefit from certified bond testing
Any operation that relies on uptime and precision benefits from a documented ultrasonic bond certification. Typical applications include turbines in fossil and nuclear plants, pump bearings in chemical processing, roll bearings in steel and aluminum mills, hydro and pump storage units, and high-power electric motors. In these environments, a strong bond translates to reliable oil film formation, steady temperature control, and long service life. Fusion Babbitting supports these sectors with repair, rebabbitting, rebuilding, reverse engineering of obsolete bearings, and new manufacturing for OEMs.
A quick checklist for your next certification review
- Part and serial numbers match your order
- 100 percent coverage of critical bond areas
- Calibrated instrument and documented technician qualifications
- Clear acceptance criteria and pass or fail statement
- Indication sizes and locations with maps or images
- Traceable Babbitt material certification and casting records
- Post-repair re-test results if applicable
- Quality approvals and dates
Why choose Fusion Babbitting for bonded bearings
Every layer of our process is aimed at bond quality and documentation. From centrifugal casting with certified metals to careful machining and final ultrasonic testing, Fusion Babbitting builds reliability into each step. Our reverse engineering team can recreate obsolete bearings with detailed drawings and modern quality controls. Whether you need a fast repair or a new OEM-quality bearing, our certifications give you confidence that your investment will last.
Get expert help decoding your ultrasonic bond certification
If you have a certification in hand and need a second opinion, send it to Fusion Babbitting. Our specialists will walk you through the findings, explain the data visuals, and confirm whether the bearing meets your performance needs. If issues are found, we will outline repair options and timelines so you can plan maintenance without surprises.
Contact Fusion Babbitting
Fusion Babbitting Co., Inc., 4540 W. Burnham St., Milwaukee, WI 53219. Phone: 414.645.5800. Toll-Free: 800.613.5118. Email: sales@fusionbabbitting.com. We provide 24-hour emergency service nationwide and deliver ultrasonic bond certifications that help you verify quality with confidence.
Final thoughts
Your ultrasonic bond certification is a powerful tool. Learn to read it, ask the right questions, and insist on complete, clear documentation. Partner with a shop that treats bond integrity as a process, not an afterthought. Fusion Babbitting stands ready to help you decode reports, improve bearing performance, and keep your operation running at its best.


